> ## Documentation Index
> Fetch the complete documentation index at: https://doc.onetoken.one/llms.txt
> Use this file to discover all available pages before exploring further.
# 在 DeepSeek Harness 中配置 OneToken
[DeepSeek Harness](https://www.deepseek.com/harness/) 是 DeepSeek 提供的 AI 编程工具。你可以将 OneToken 添加为自定义模型提供方,并在 Harness 中使用 OneToken 支持的模型。
## 准备工作
开始前,请准备好以下内容:
* 已安装 Node.js 和 npm。
* 已在 [OneToken 控制台](https://onetoken.one/console/token) 创建 API Key。
* 已从 [OneToken 模型广场](https://onetoken.one/pricing) 获取要使用的模型 ID。
## 安装并启动 DeepSeek Harness
在终端中运行:
```bash theme={null}
npx @deepseek-ai/dsh web
```
启动完成后,在浏览器中打开 DeepSeek Harness。
## 配置 OneToken
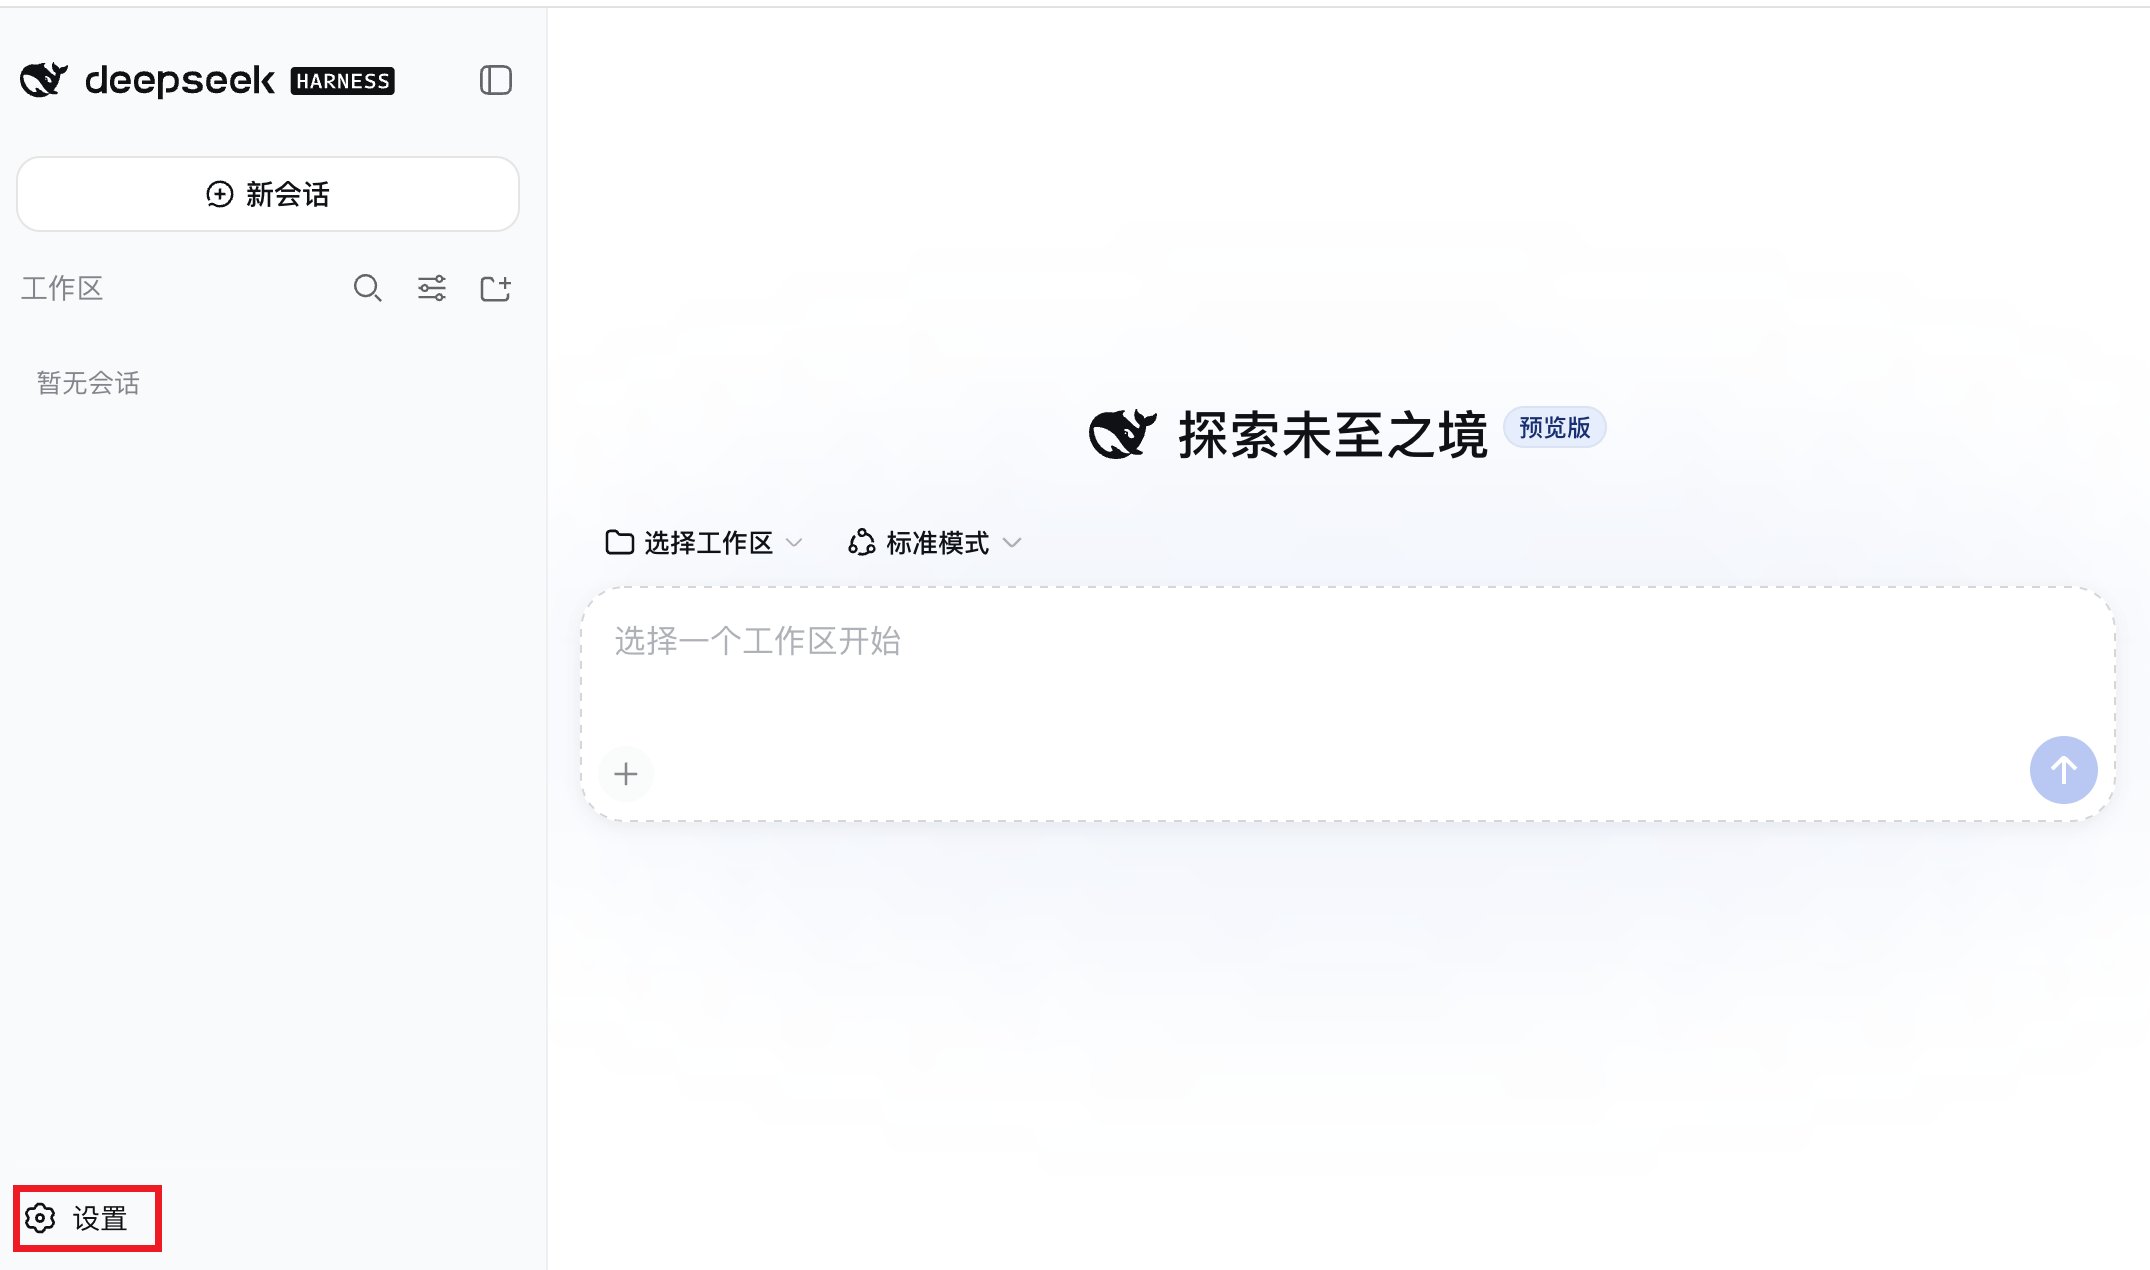
### 1. 打开设置
点击页面左下角的 **设置**。
 ### 2. 添加自定义提供方
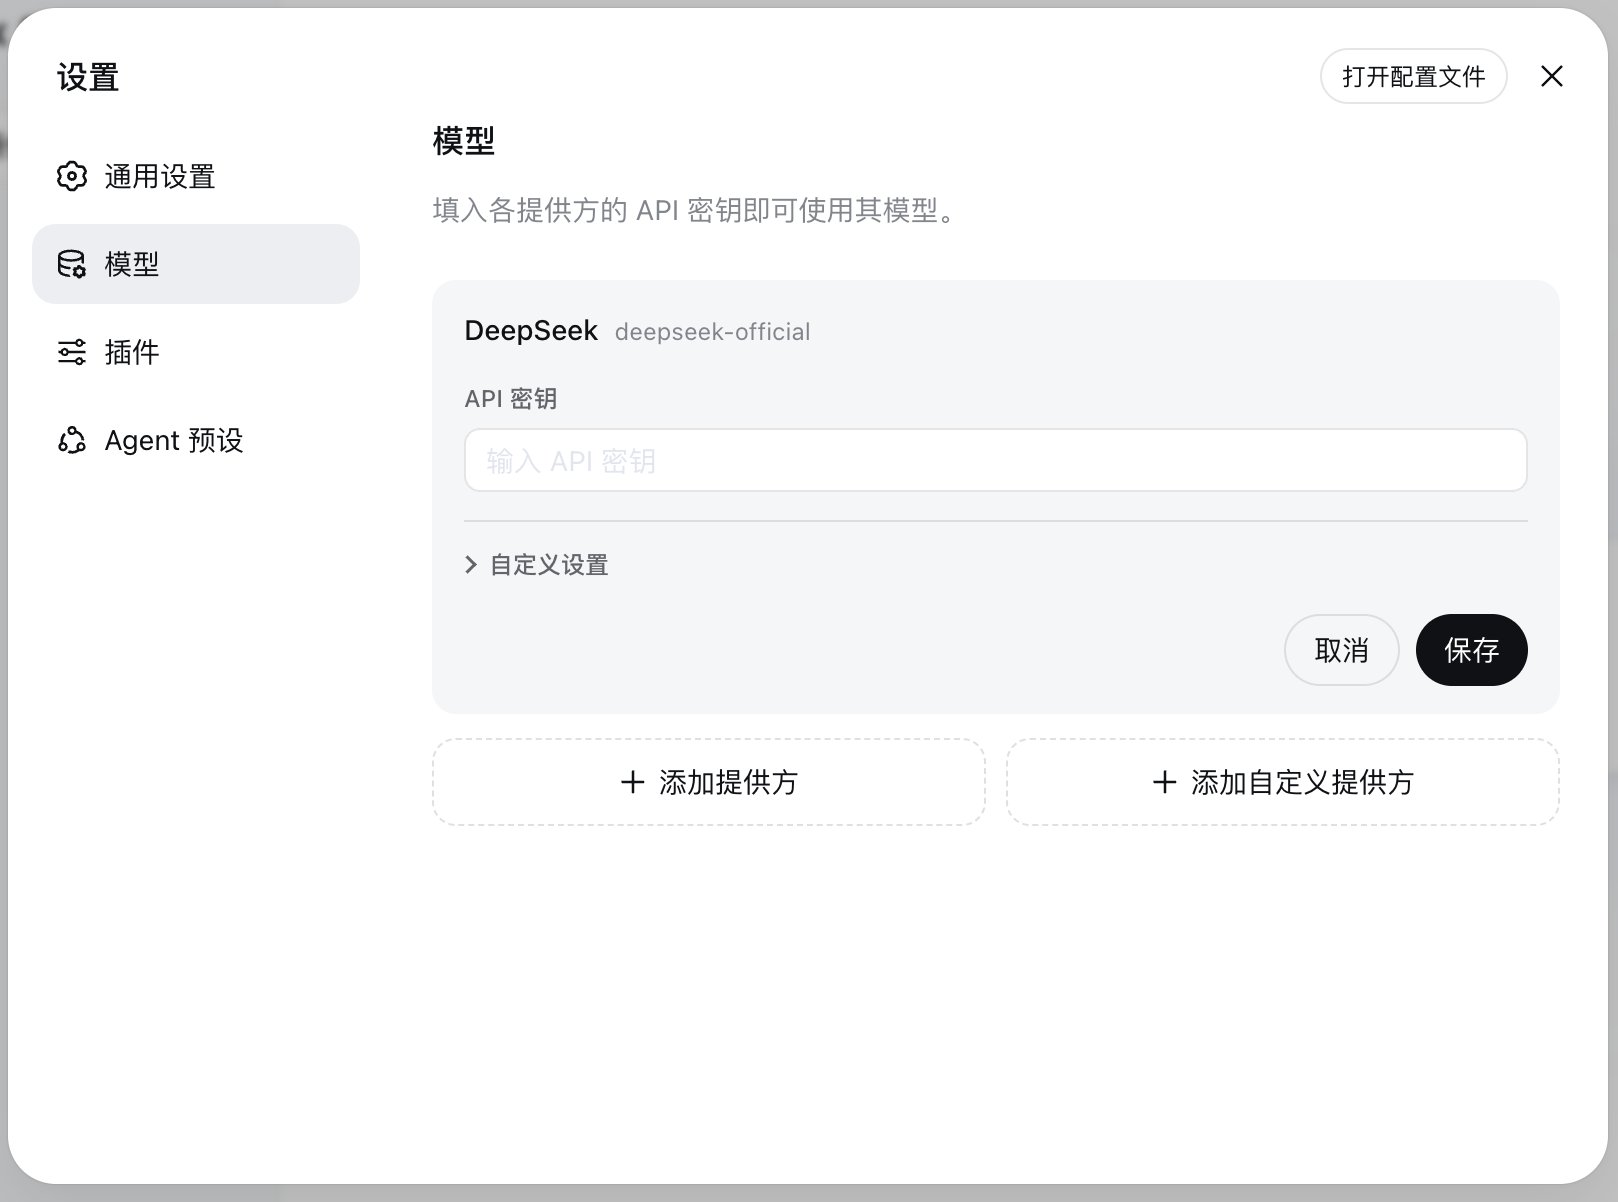
进入 **模型** 页面,然后点击 **添加自定义提供方**。
### 2. 添加自定义提供方
进入 **模型** 页面,然后点击 **添加自定义提供方**。
 ### 3. 填写提供方信息
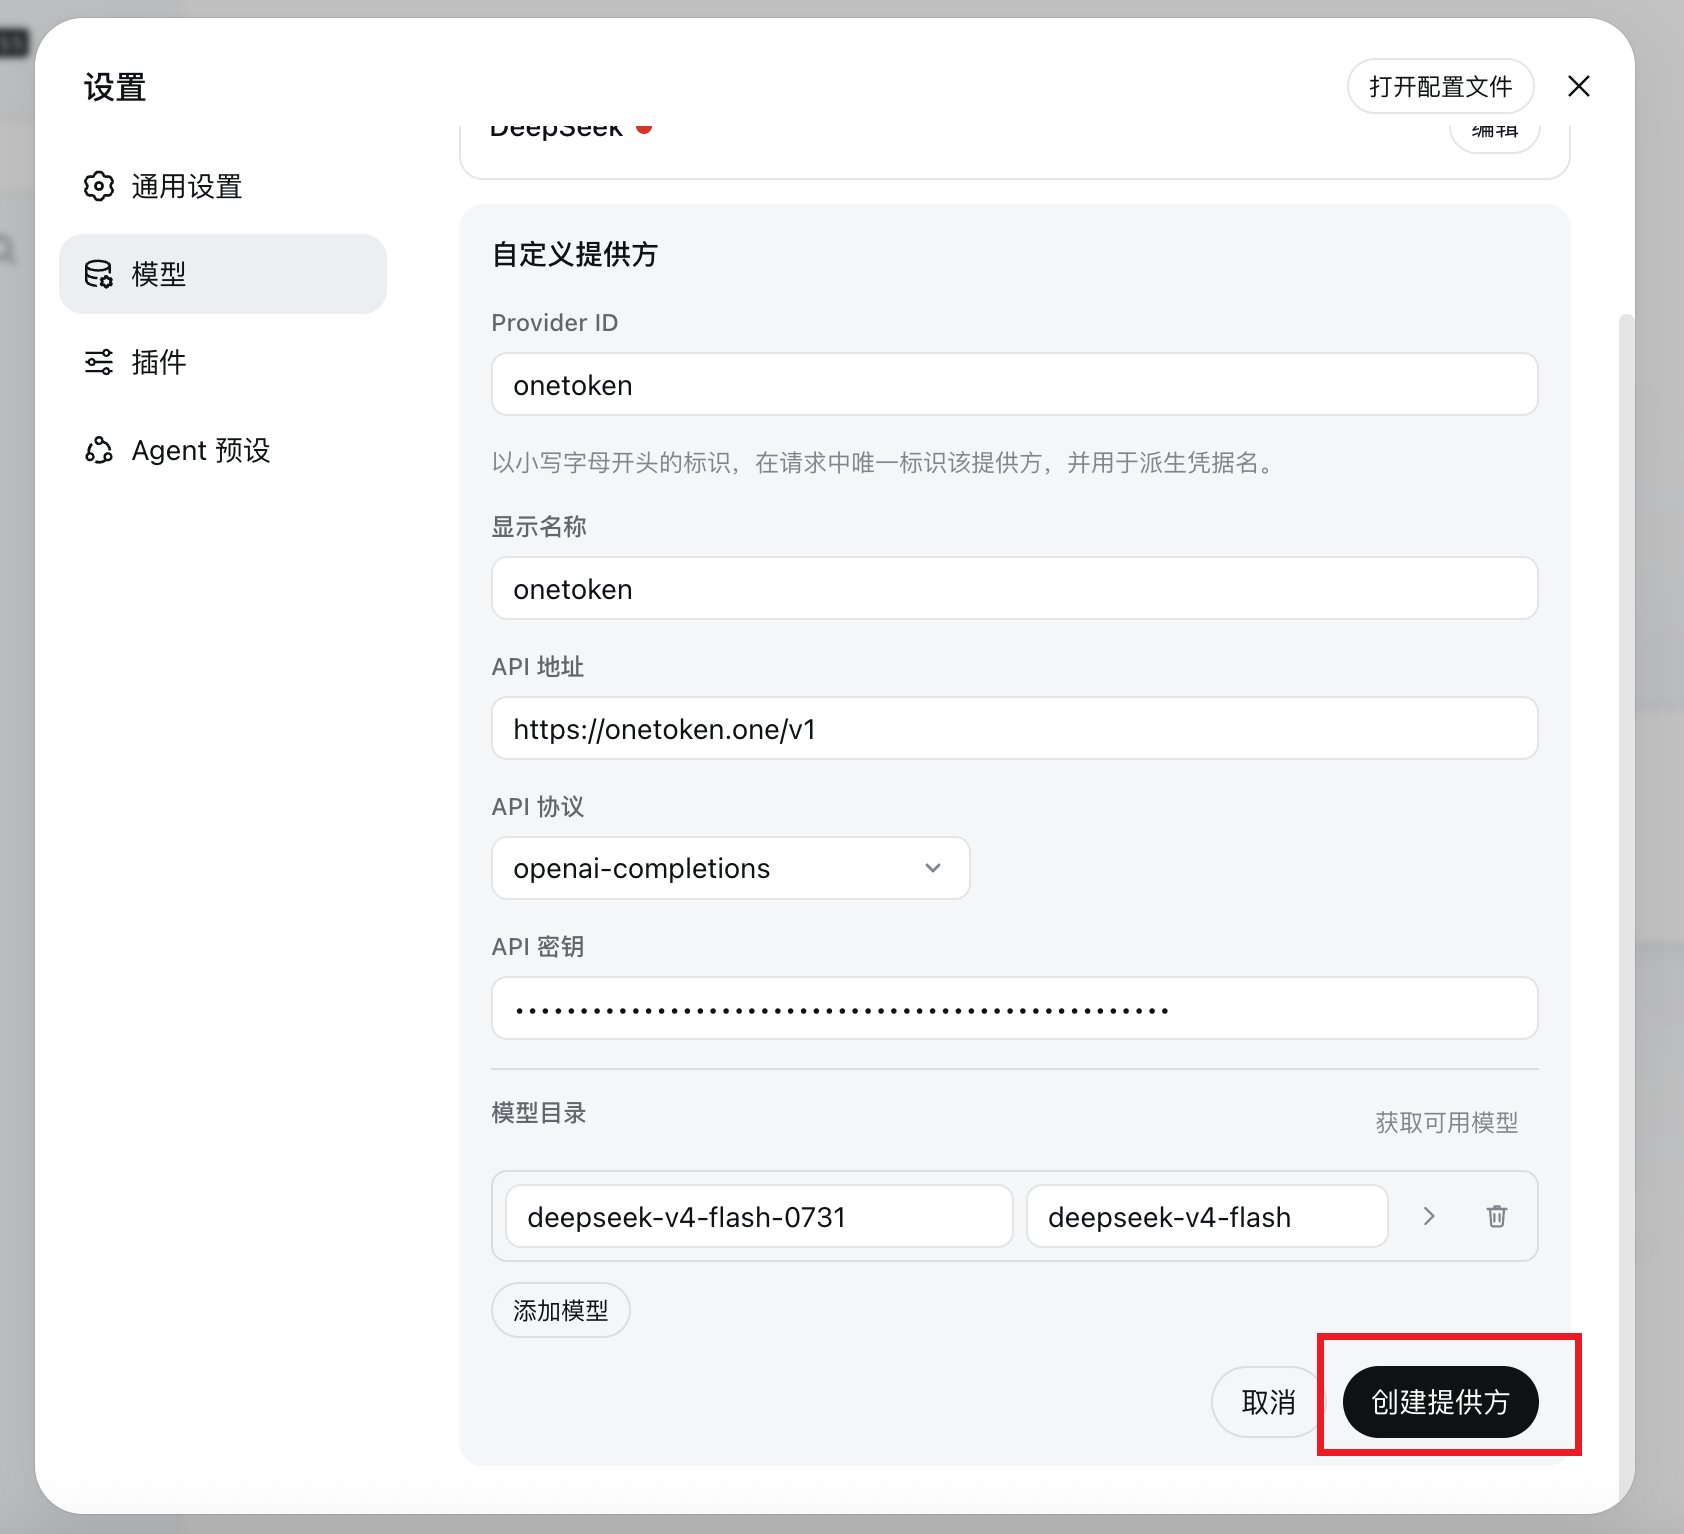
按照以下内容填写配置:
* **Provider ID**:输入 `onetoken`。该值必须以小写字母开头。
* **显示名称**:输入 `OneToken`,也可以使用其他便于识别的名称。
* **API 地址**:输入 `https://onetoken.one/v1`。
* **API 协议**:选择 `openai-completions`。
* **API 密钥**:粘贴你的 OneToken API Key。
在 **模型目录** 中添加要使用的模型:
* 第一个输入框填写从 OneToken 模型广场复制的模型 ID,例如 `deepseek-v4-flash-0731`。
* 第二个输入框填写模型在 Harness 中的显示名称,例如 `DeepSeek-V4-Flash`。
* 如需配置多个模型,点击 **添加模型** 后继续填写。
确认信息无误后,点击 **创建提供方**。
### 3. 填写提供方信息
按照以下内容填写配置:
* **Provider ID**:输入 `onetoken`。该值必须以小写字母开头。
* **显示名称**:输入 `OneToken`,也可以使用其他便于识别的名称。
* **API 地址**:输入 `https://onetoken.one/v1`。
* **API 协议**:选择 `openai-completions`。
* **API 密钥**:粘贴你的 OneToken API Key。
在 **模型目录** 中添加要使用的模型:
* 第一个输入框填写从 OneToken 模型广场复制的模型 ID,例如 `deepseek-v4-flash-0731`。
* 第二个输入框填写模型在 Harness 中的显示名称,例如 `DeepSeek-V4-Flash`。
* 如需配置多个模型,点击 **添加模型** 后继续填写。
确认信息无误后,点击 **创建提供方**。
 ## 选择工作区和模型
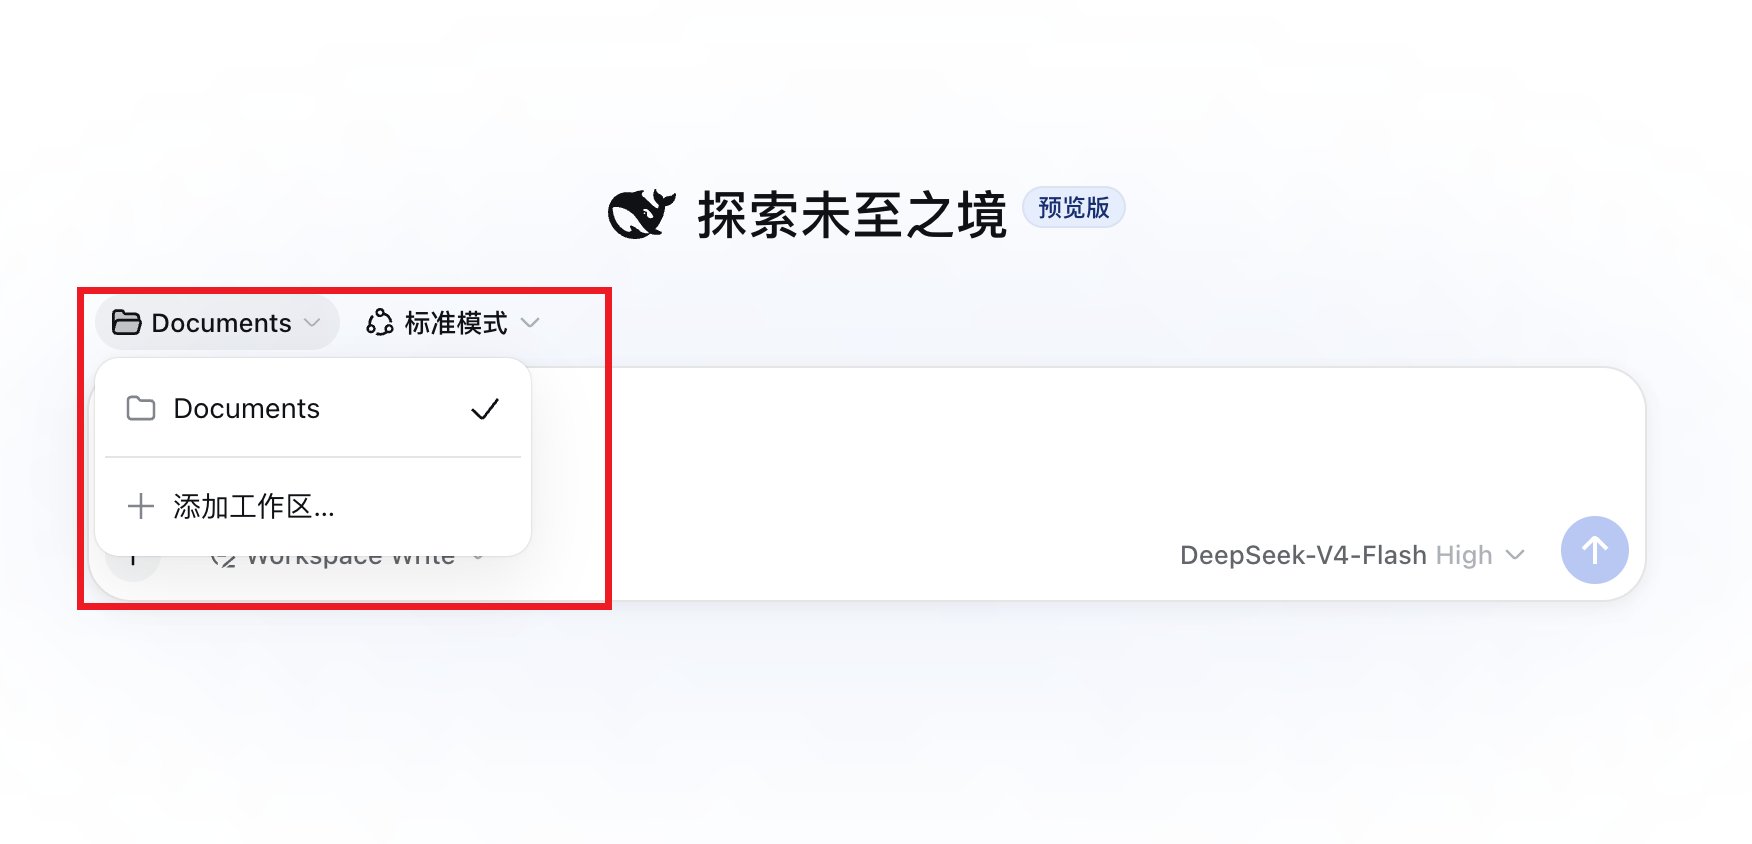
返回首页,从工作区菜单中选择现有工作区。你也可以点击 **添加工作区** 选择新的本地目录。
## 选择工作区和模型
返回首页,从工作区菜单中选择现有工作区。你也可以点击 **添加工作区** 选择新的本地目录。
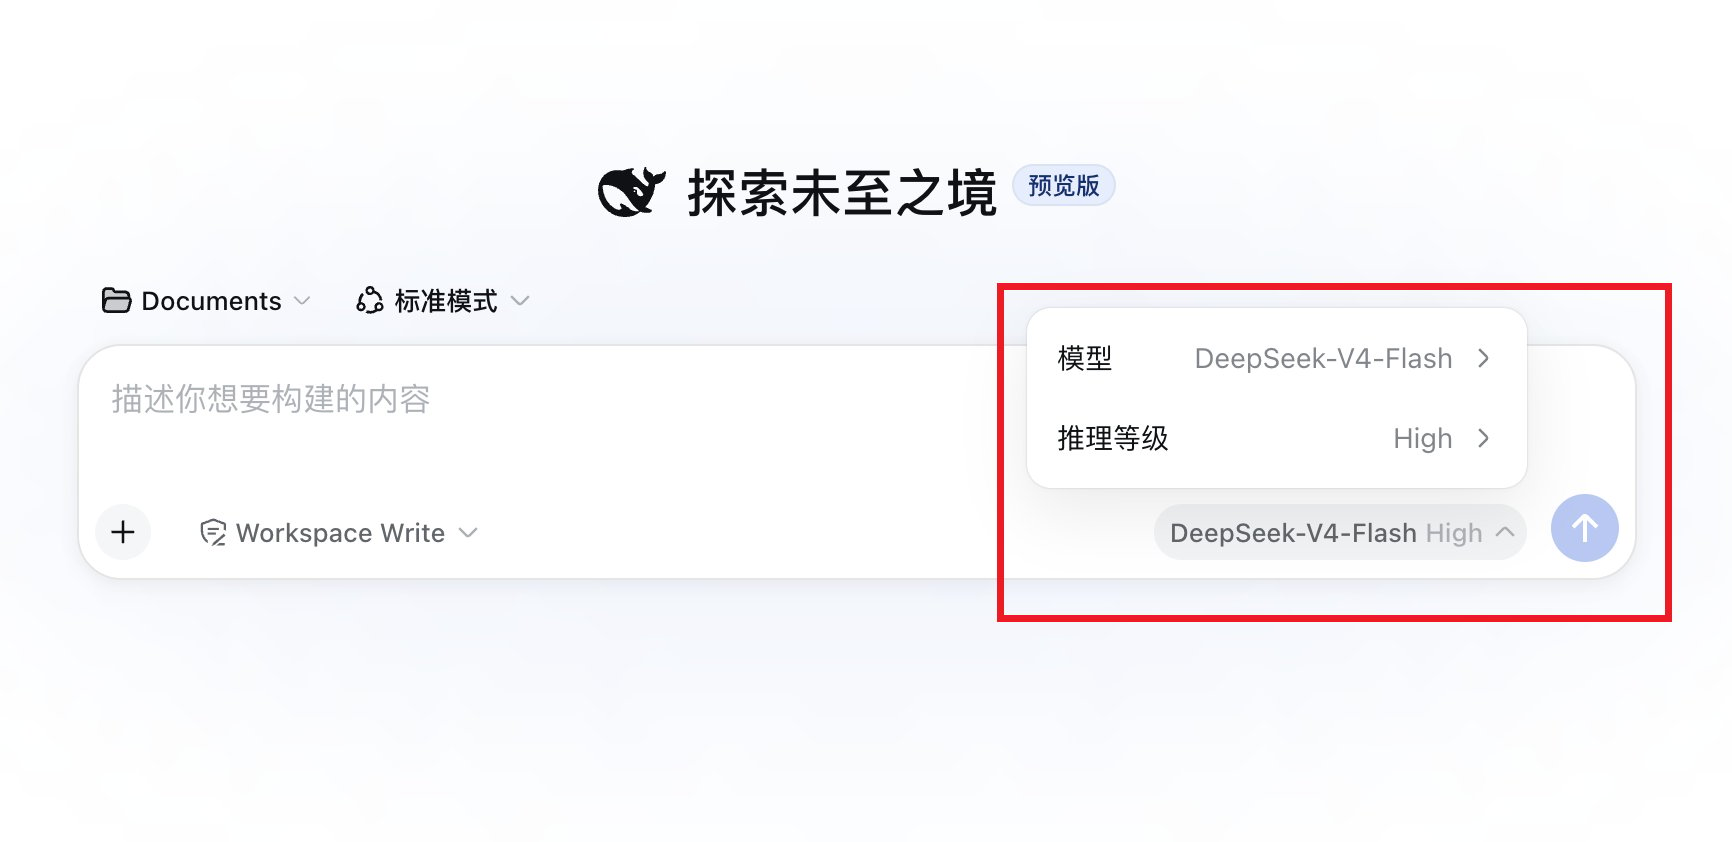
 打开输入框右下角的模型菜单,选择刚才配置的模型和所需的推理等级。输入任务并发送后,即可开始使用。
 请勿在截图、日志或公开文件中泄露你的 API Key。
This documentation is built and hosted on [Mintlify](https://mintlify.com), a developer documentation platform.
请勿在截图、日志或公开文件中泄露你的 API Key。
This documentation is built and hosted on [Mintlify](https://mintlify.com), a developer documentation platform.