

Use OpenAI Codex CLI and the desktop app through the OneToken API.This guide explains how to install Codex and configure the OneToken API manually. Windows, macOS, and Linux use the same configuration values; only the configuration paths and editing commands differ.
Before you start
- Get a OneToken API key from the OneToken API token page.
- Make sure the key is valid and has enough quota and model access.
- Install Node.js 16 or later. The current LTS release is recommended.
Replace YOUR_ONETOKEN_API_KEY in the examples with your real key. Keep API keys in local configuration files only. Never commit them to Git or publish them.
Install Codex
Desktop app
Visit the OpenAI Codex download page to get the desktop app. Desktop platform support can change, so follow the systems listed on the download page. The CLI can be configured on all three platforms with the steps below.CLI
Run the following command in Terminal, PowerShell, or CMD:codex, close and reopen the terminal, or check that the npm global installation directory is included in PATH.
Configure the API manually
Codex uses two files for a custom model provider:
The default configuration directory is
~/.codex. If you set the CODEX_HOME environment variable, Codex uses that directory instead. The platform paths below assume CODEX_HOME is not set.
1. Edit auth.json
The file content is the same on all three platforms:
2. Edit config.toml
The file content is the same on all three platforms:
- Set
base_urltohttps://onetoken.one/v1. Do not append/responses. - Set
modelto a model name listed in the OneToken model catalog. If the model name changes, update this value. model_reasoning_effortacceptshigh,medium, orlow.cli_auth_credentials_store = "file"tells Codex to read credentials fromauth.json, which matches the manual setup in this guide. Treat this file like a password.- The
model_providervalue must match the[model_providers.OneToken]section name. This guide usesOneTokenas the provider ID. - To maintain multiple configurations, create a separate
$CODEX_HOME/<profile-name>.config.tomlfile for each one (~/.codex/<profile-name>.config.tomlwhenCODEX_HOMEis not set), then start Codex withcodex --profile <profile-name>. A profile file is not required for the basic setup.
Platform-specific paths and editing steps
- Windows
- macOS
- Linux
Configuration directory
Windows stores the configuration in the current user’s.codex directory:.codex may be hidden. Create it if it does not exist.Create and edit files with PowerShell
- Open PowerShell.
- Create the directory and both files:
- Open each file and paste the JSON and TOML content shown above:
- Save the files as UTF-8. Make sure the names are not
auth.json.txtorconfig.toml.txt.
Create and edit files with CMD
You can also run the following commands in CMD:Start and verify Codex
After saving the configuration, close and reopen your terminal. Go to your project directory and start Codex:.codex directory for the current user.
Configure with CC-Switch
If you prefer not to edit the files manually, use CC-Switch:- Open CC-Switch and add a provider.
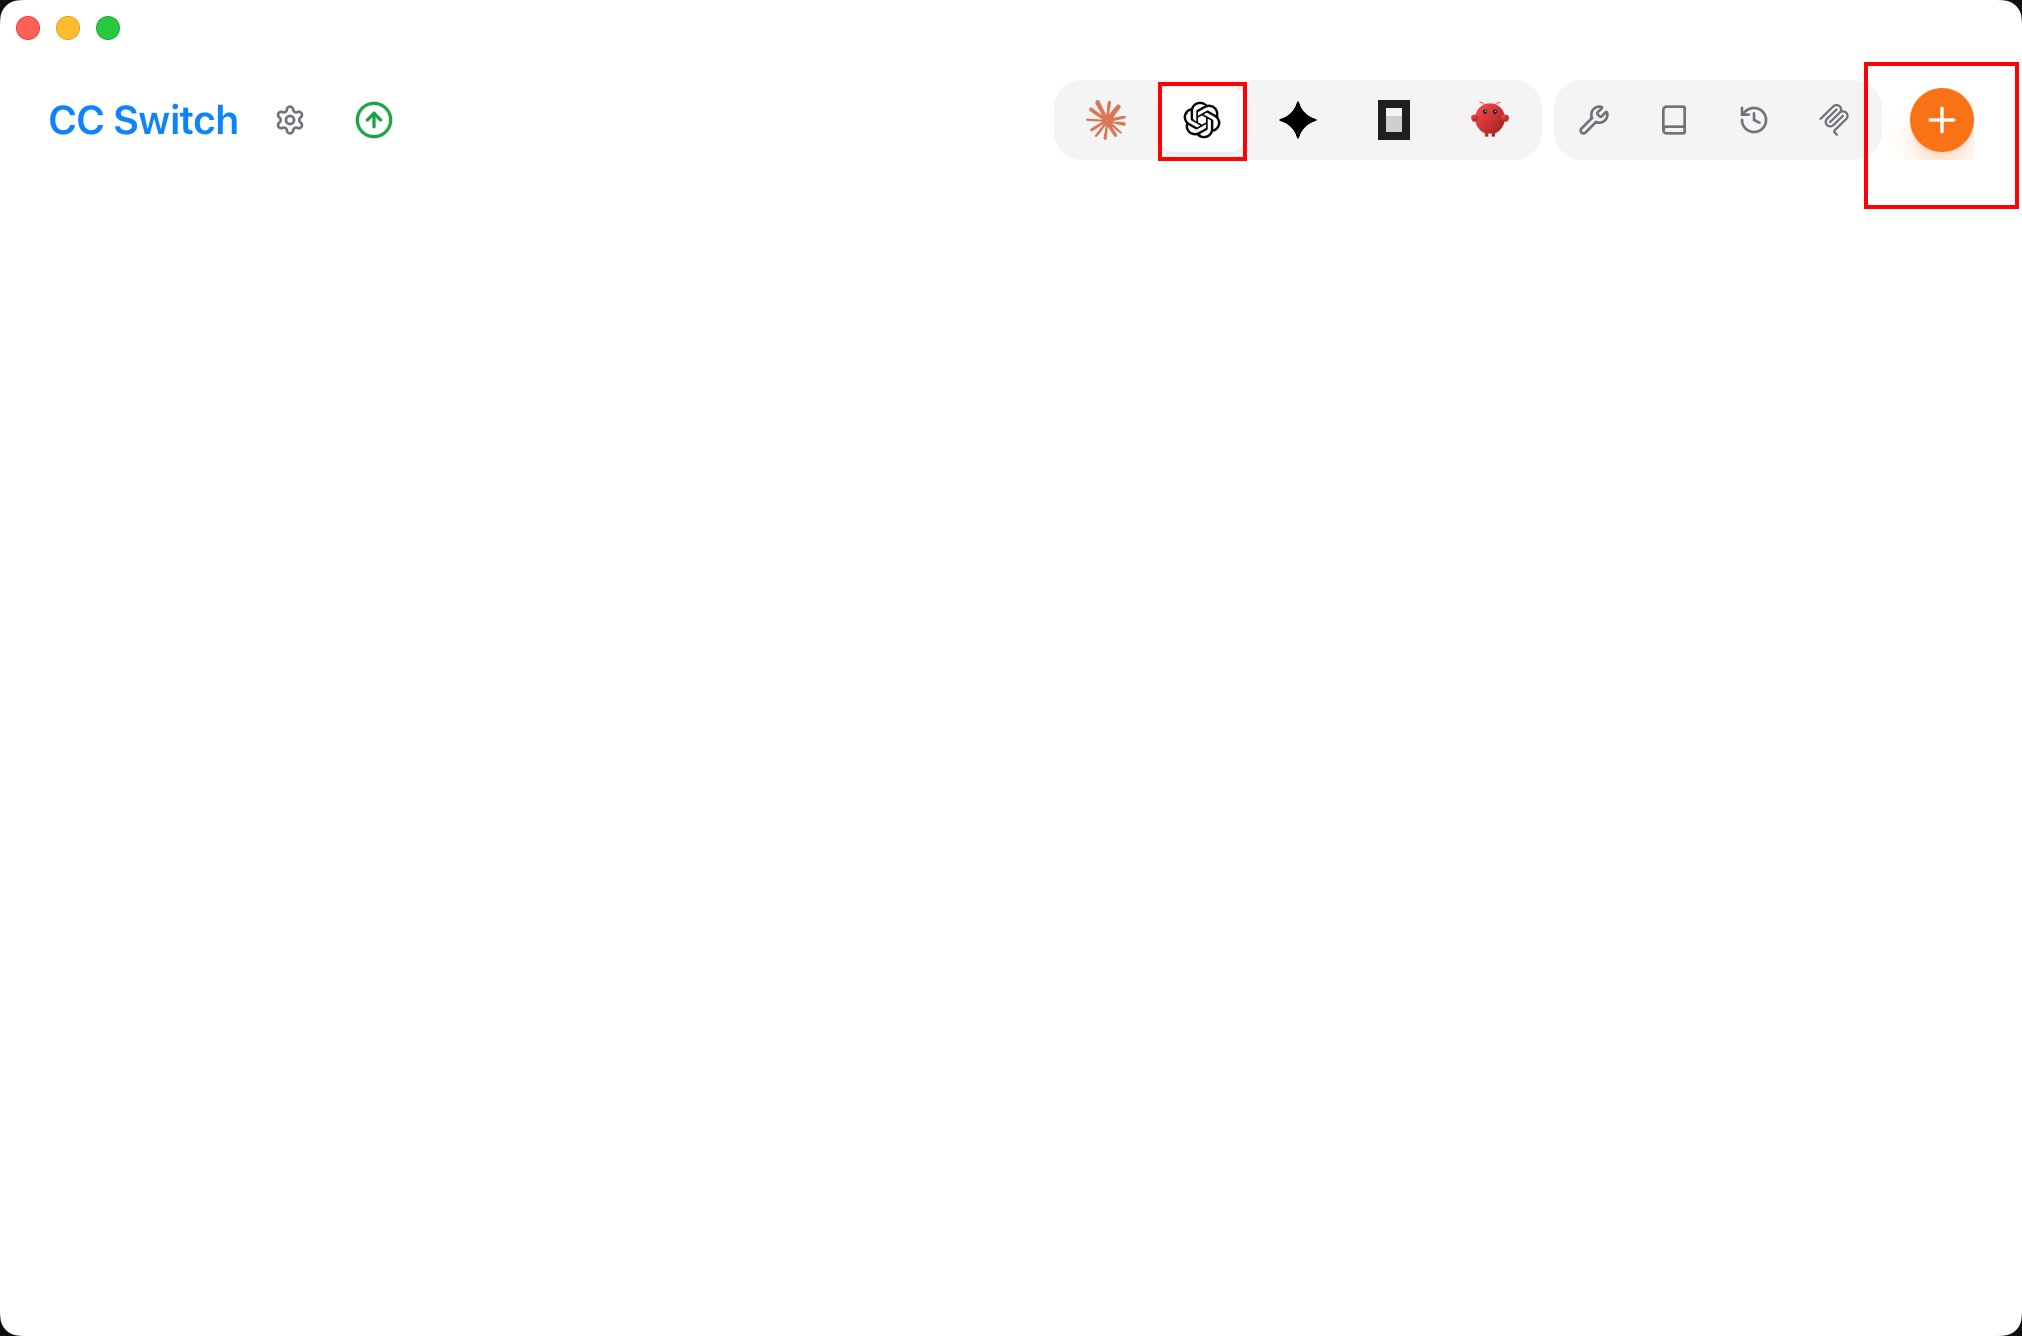
- Select OneToken from the presets.
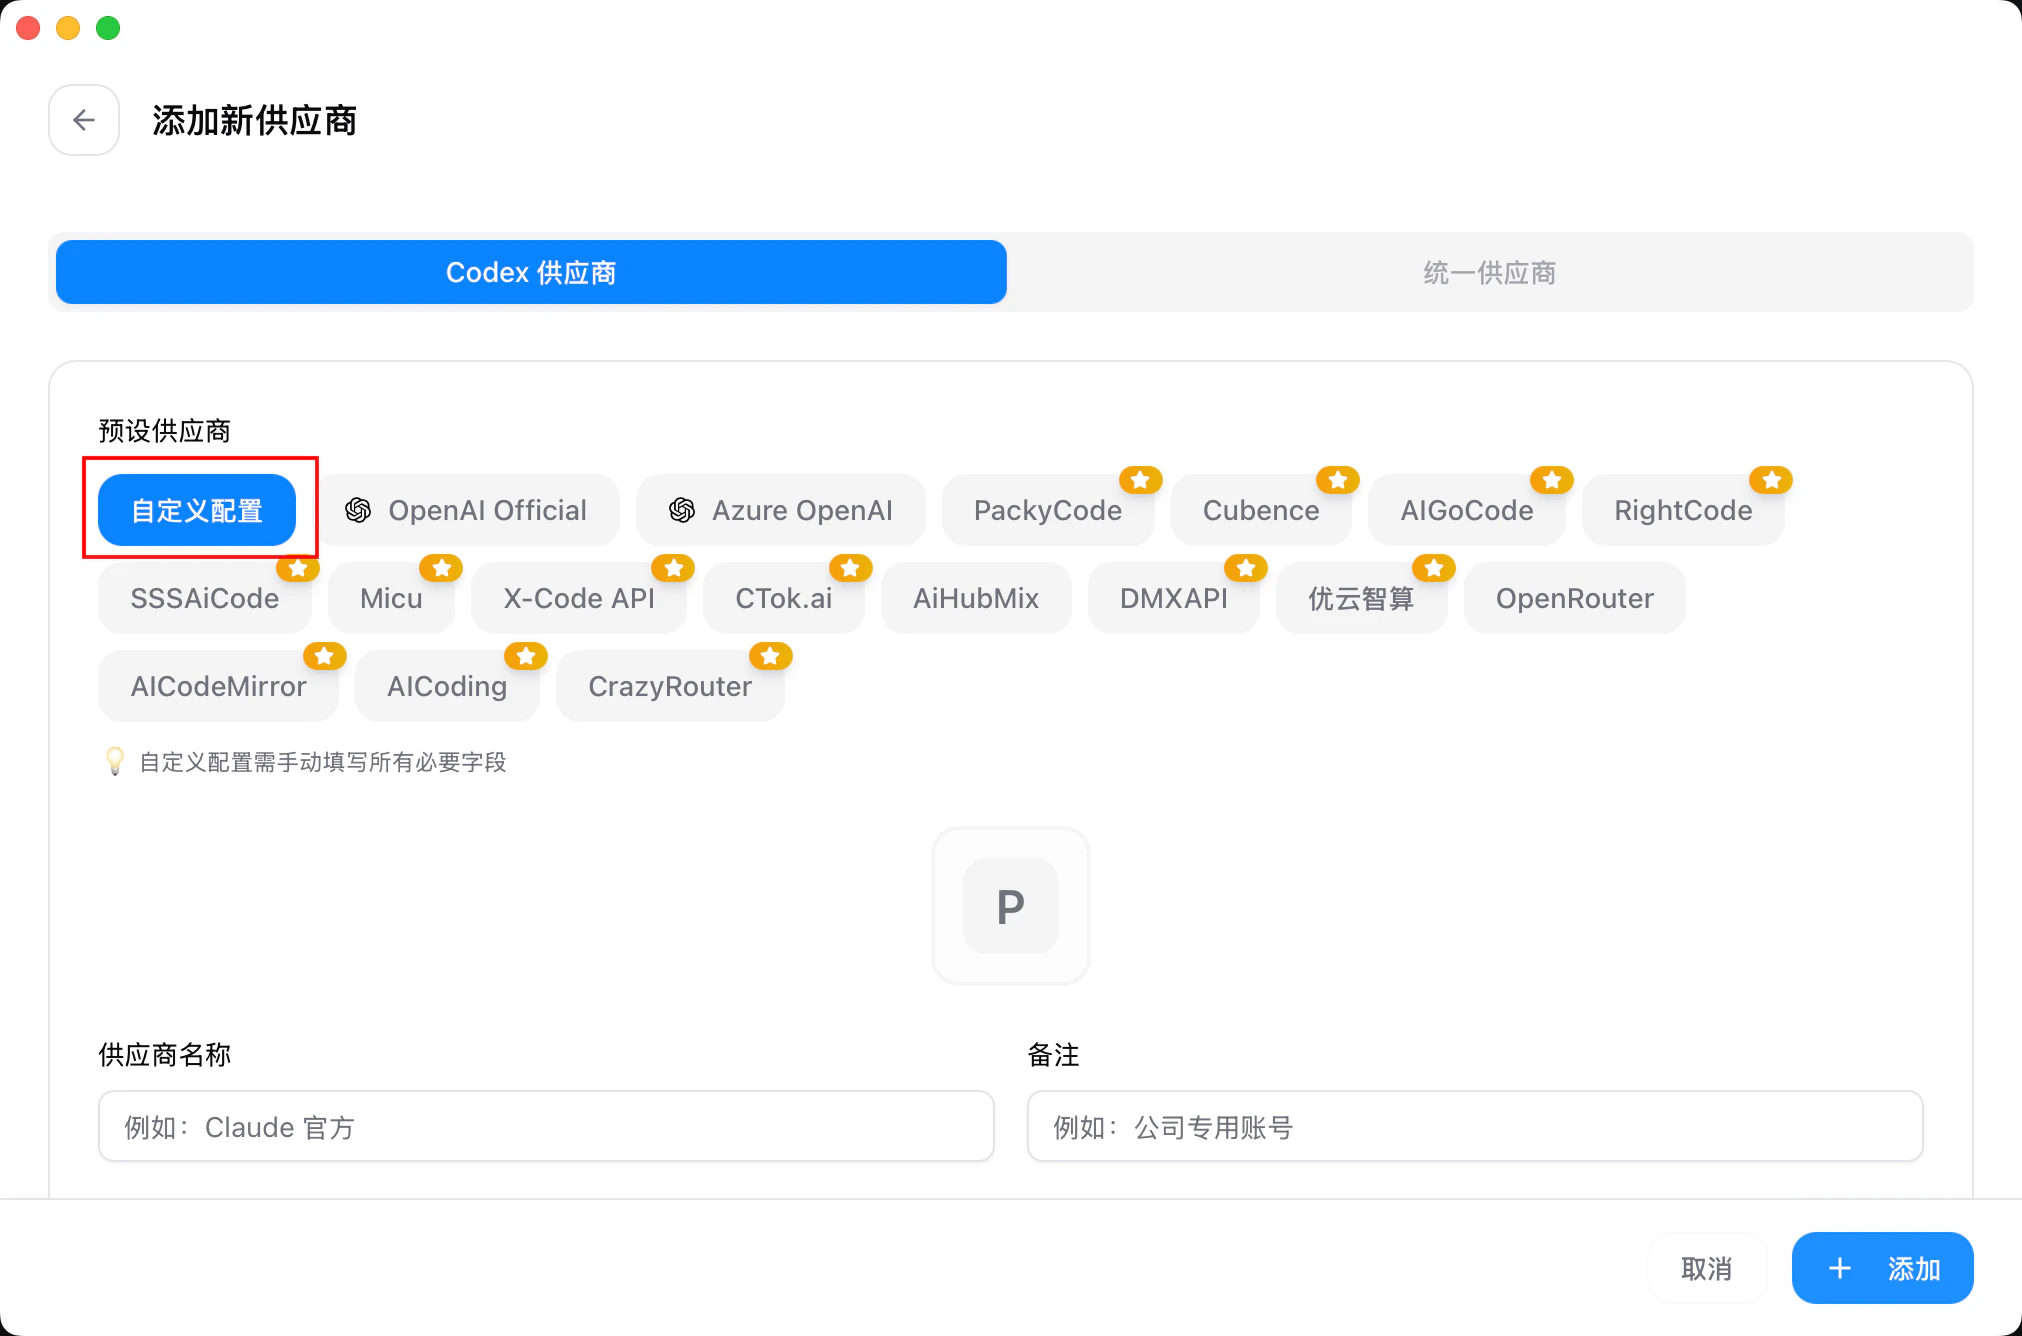
- Enter your OneToken key in API Key, then click Add.
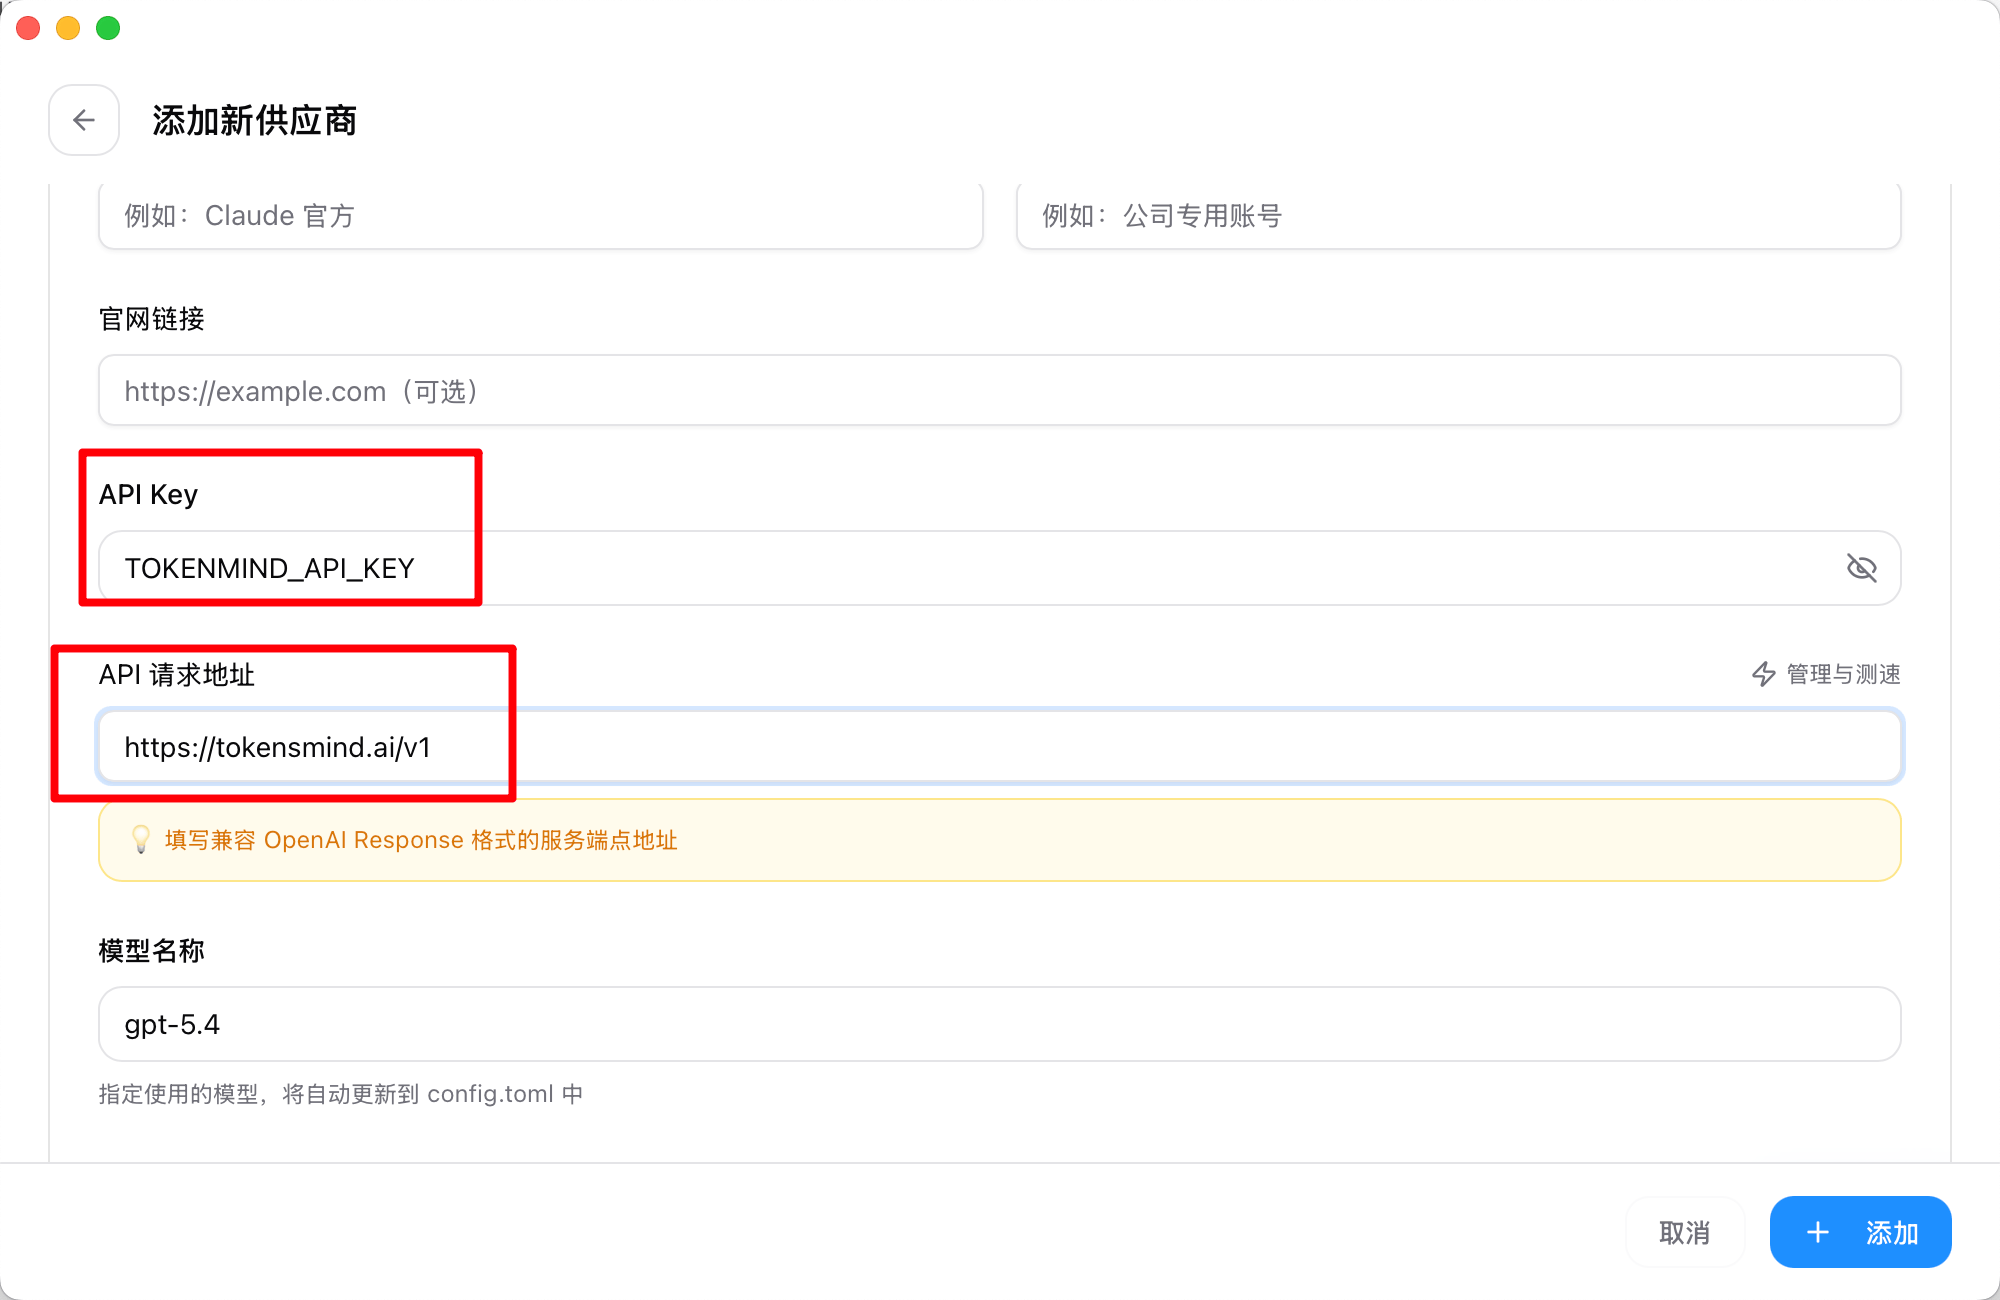
- Return to the home screen, select OneToken, and click Enable.
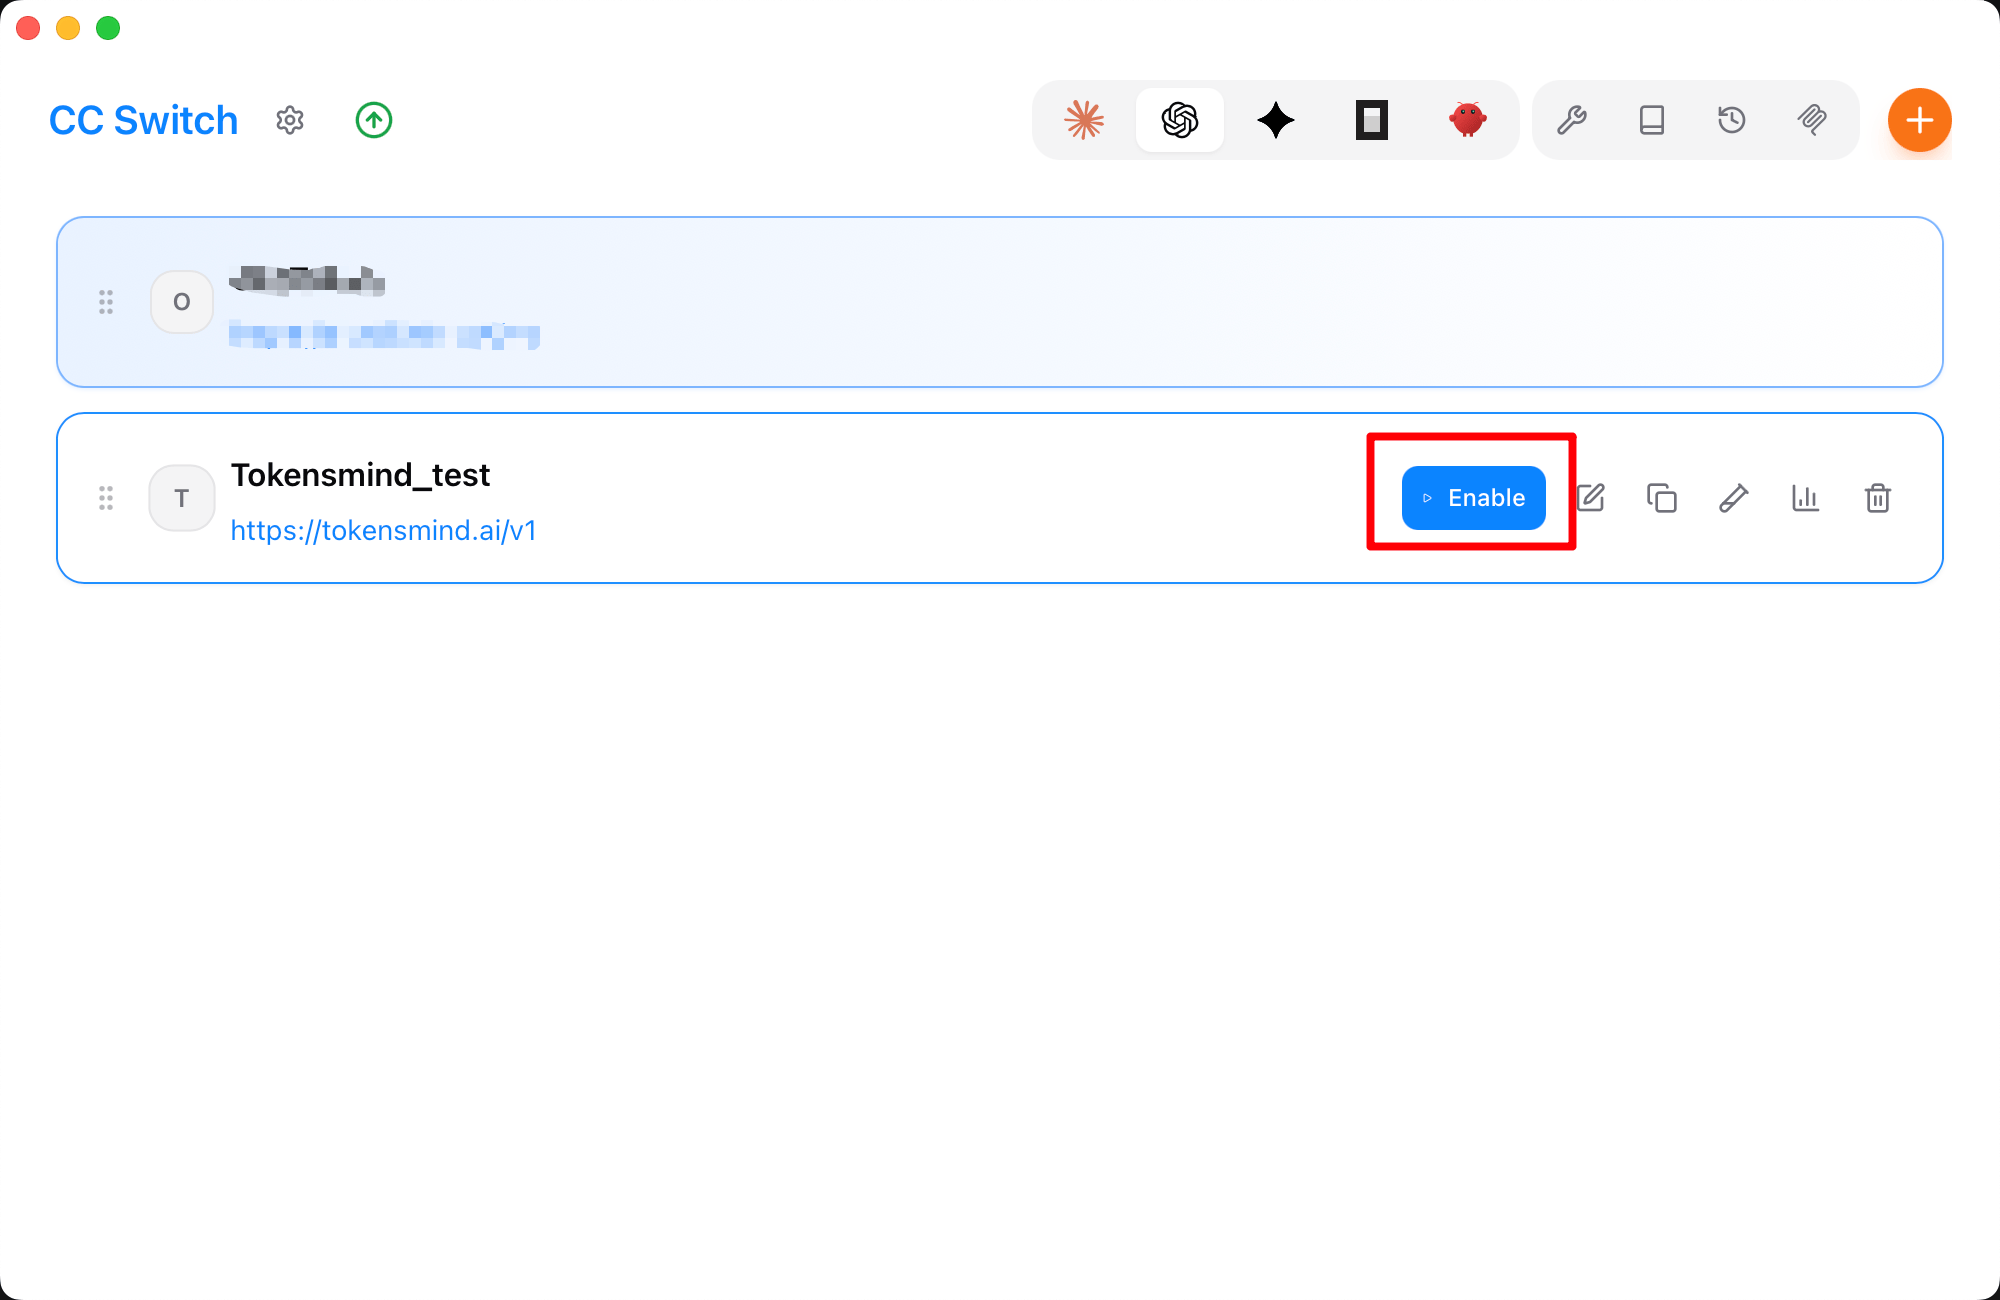
.codex directory. Restart Codex after switching providers so it loads the new configuration.
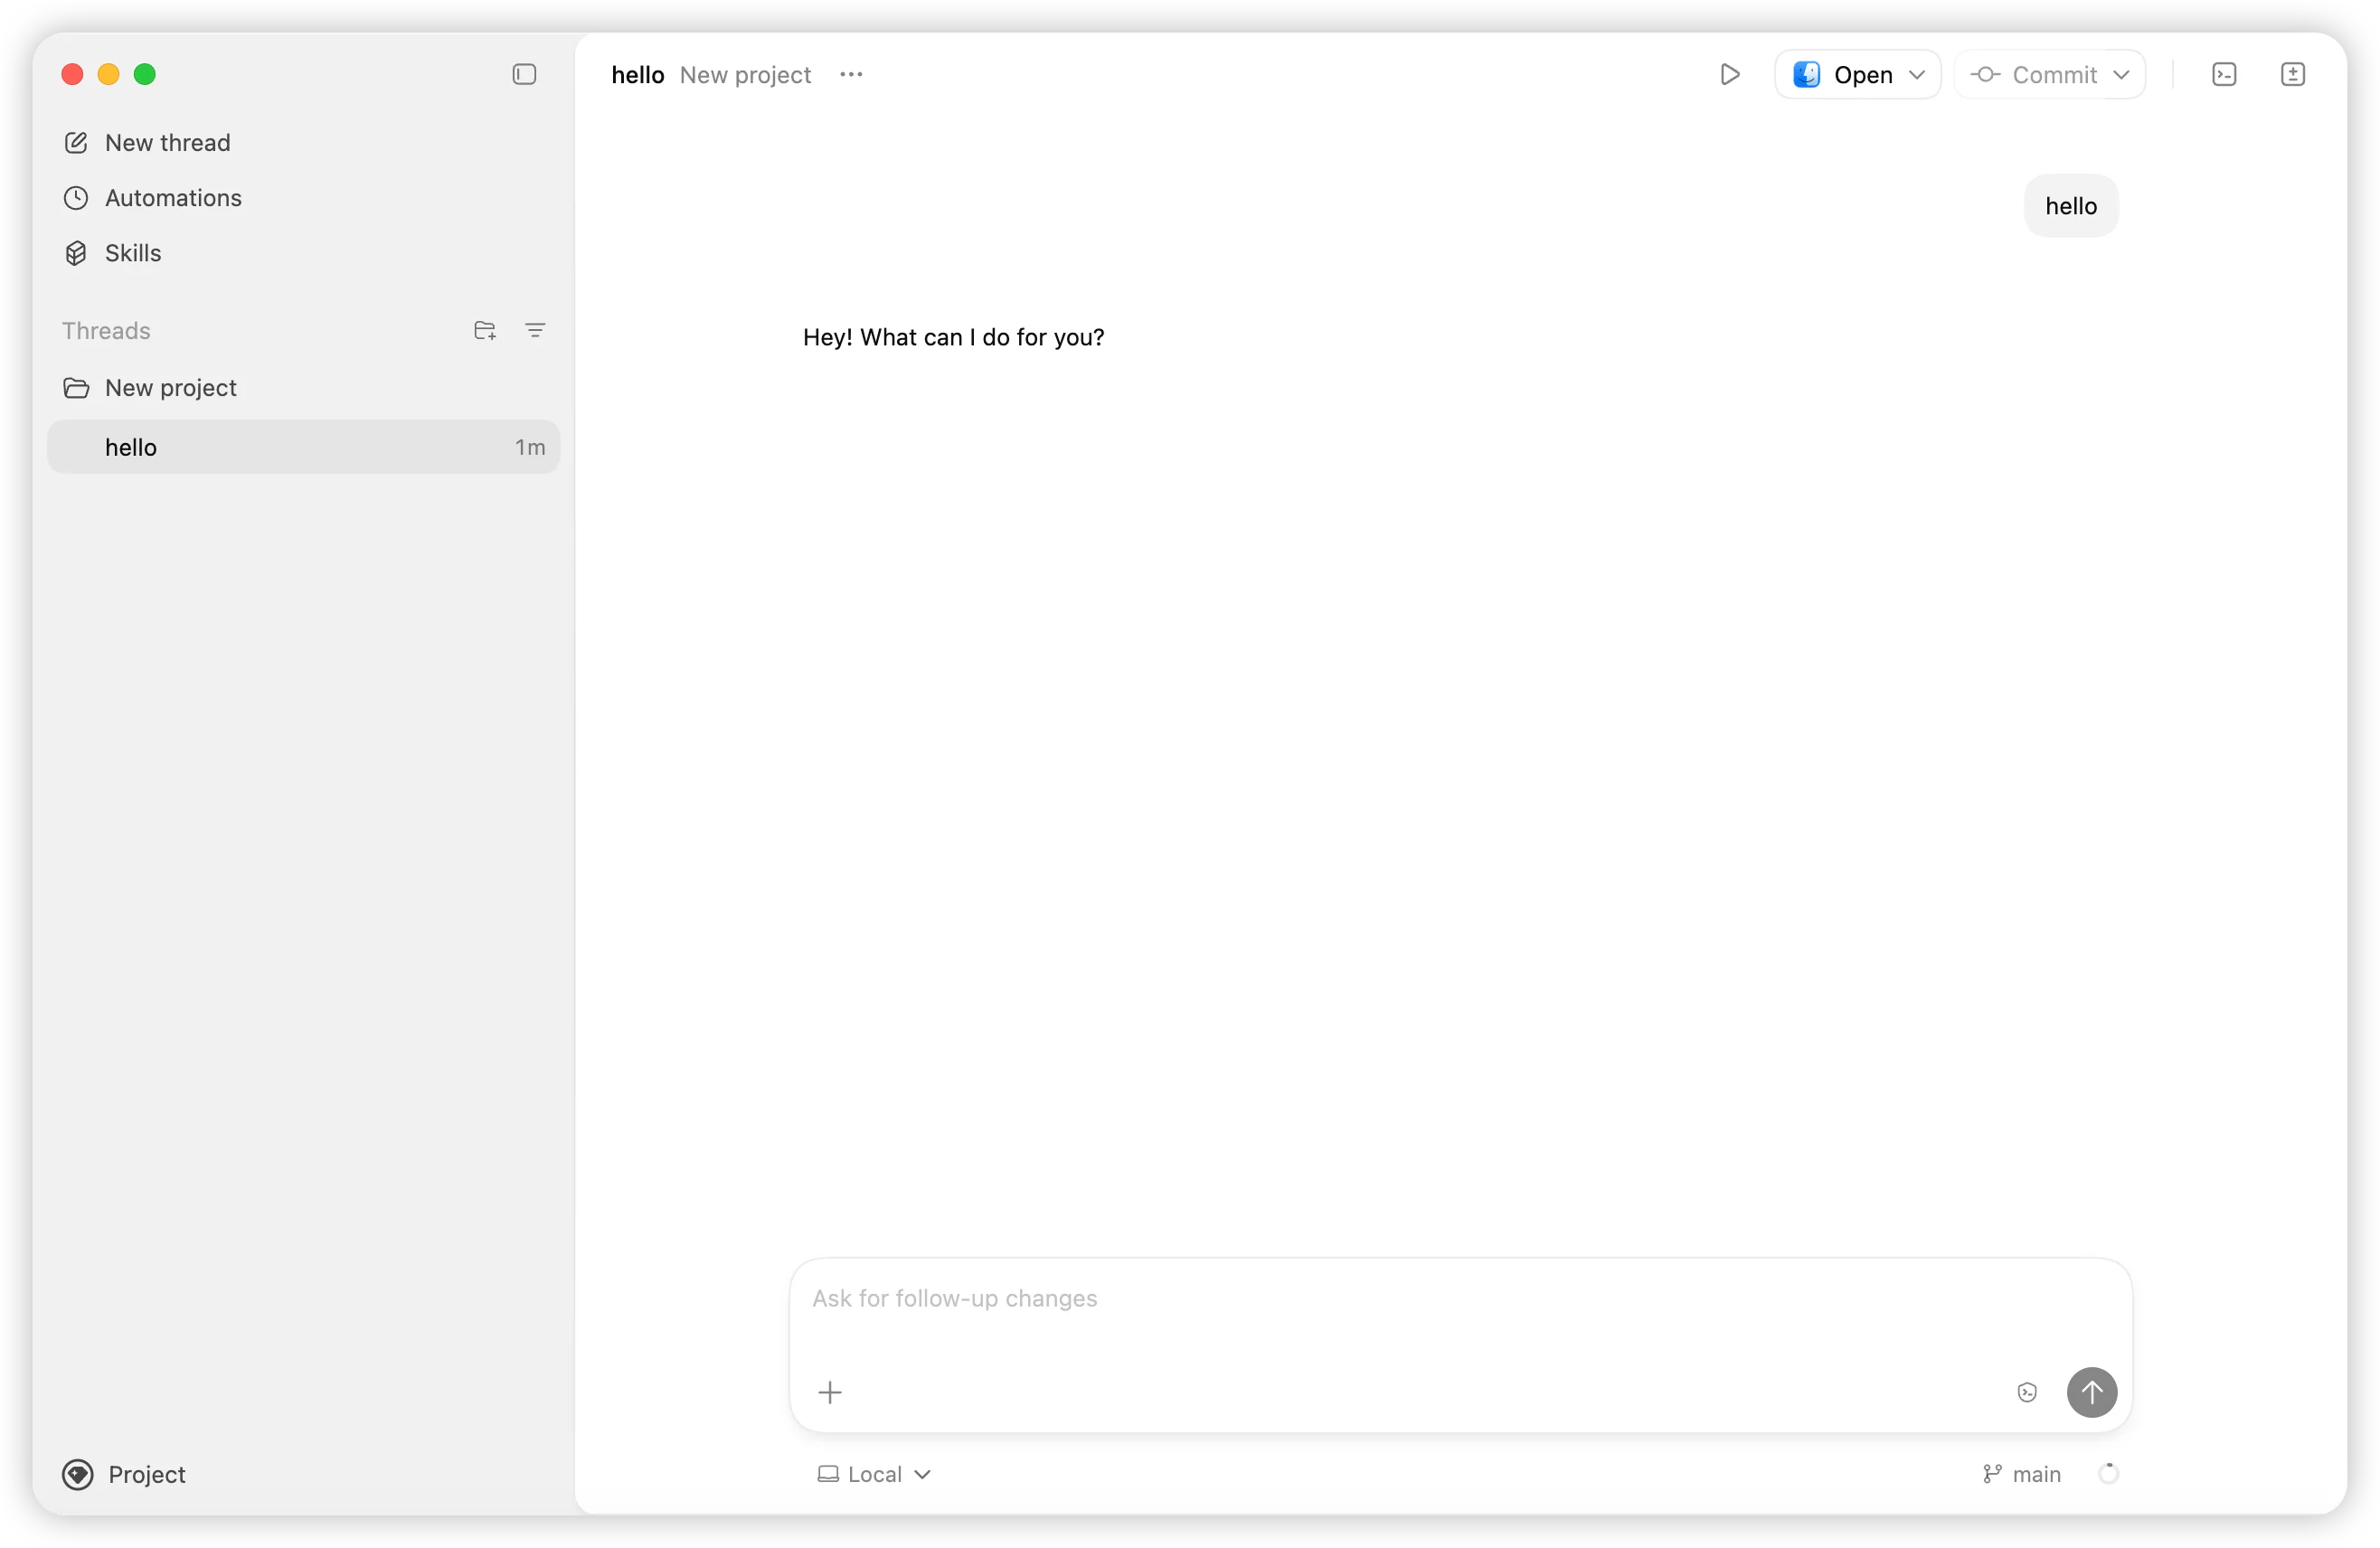
Use the Codex desktop app
- Start the Codex desktop app and choose a workspace folder.
- Enter a simple task to test the connection.
- If the app asks you to sign in or does not load the configuration, quit the app. Check
auth.jsonandconfig.tomlin the current user’s.codexdirectory, then start the app again.
Troubleshooting
401 or 403 responses
- Check that the API key in
auth.jsonis complete, valid, and has no extra spaces. - Confirm the key’s quota, expiration, and model permissions.
- Confirm that
base_urlishttps://onetoken.one/v1and does not contain a duplicated/v1.
Model not found
Open the OneToken model catalog, copy an available model name, and updatemodel in config.toml.
Configuration is not applied
- Make sure the files are in the current user’s
.codexdirectory, not the project directory or another user’s directory. - On Windows, check that the files were not saved as
auth.json.txtorconfig.toml.txt. - Make sure the provider section and
model_providerboth useOneToken, including matching capitalization. Newer Codex versions do not require a[profiles.OneToken]table inconfig.toml. - Fully quit and restart the Codex CLI or desktop app.
View command help
--auto-edit and --full-auto reduce the number of confirmation prompts. Use them only in project directories where you understand the risks. Avoid options that bypass all safety confirmations unless you are performing temporary local testing.